#1 Step: Select Photos
First, you need to select the photos and you may edit them with Photoshop or with PicMonkey what is my favorite online photo editor. That point you also need to decide the size of the magnets. I have print them out with Canon Selphy photo printer in 2.5 x 3.5-inch size.
#2 Step: Create Paper Frames
There is more way to make paper frames. You can use a metal ruler, cutting mat along with a super sharp craft knife or you can use the We R Memory Keepers Frame Punch Board. I love this tool because it's so easy to use and make any size of frames what you can use for photos, cards or planners. I chose Polaroid-style frames so I got more place on the bottom for decoration. (The Punch Board comes with a handy instruction booklet, so you will figure out very fast how to use it. )
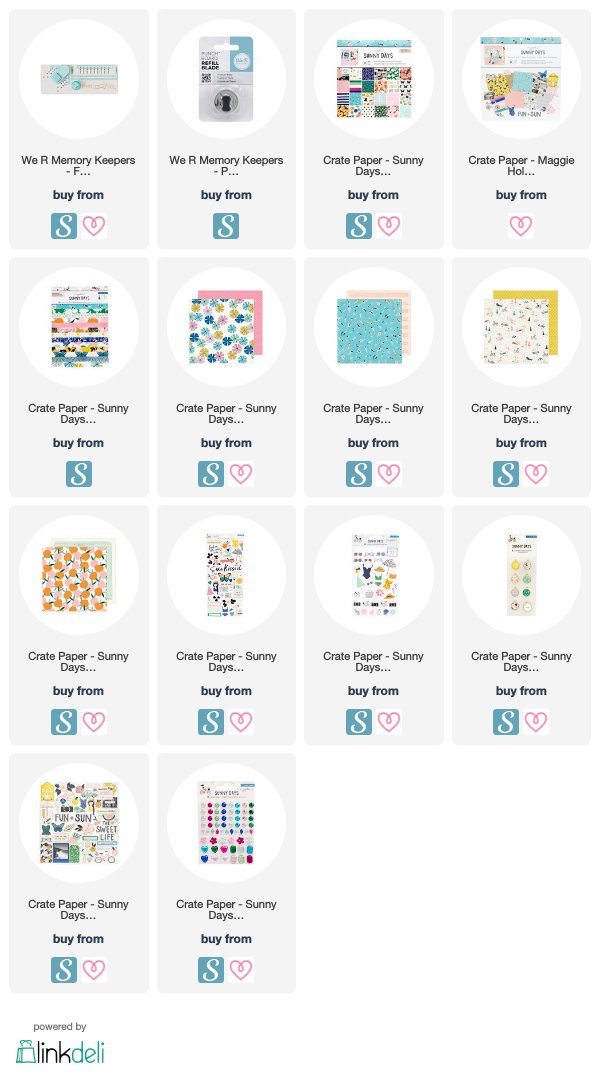
If you want to make exactly the same frames I am listing you what I have used. I picked my favorite Crate Paper - Maggie Holmes Sunny Days scrapbooking patterned papers :
#3 Step: Adhere the photo
I backed the frames with my favorite vacation photos. If you could print out the right size photo you are ready to go. If you have bigger photos, don't panic. Trim down the edges to fit the paper frames. Use douple-sided tape what is acid-free and archival safe.
#4 Step: Decorate the Magnets
Decorate your pretty farmers with stickers and different type of embellishments. Whenever I create any paper crafting projects I use scrapbooking collections. A scrapbooking collection contains coordinating scrapbooking papers and stickers. With such a set you will definitely reach a
harmonizing look what makes your project professional.
- 6x12 Cardstock
- Clear Book
- Chipboard Sticker
- Rhinestones
- 6x12 Cardstock
- Clear Book
- Chipboard Sticker
- Rhinestones
#5 Step: Add Magnets to the back
Before I adhered magnets dots in the middle of the back, I have I reinforced the framed photos with a chipboard piece. If you have self-adhesive flexible magnetic sheet, you don't need to add any backing.
Congrats! You did it! That was easy enough, right?I would love to see what you made! Please, share your take on and tag me on Instagram!
Supplies:(This post contains affiliate links. It means I get a small commission at no additional cost to you when products are purchased through links I share here. Pink and Paper-Europe. Scrapbook.com)


Oh my gosh, these are so adorable! You make the most beautiful pages and projects. Thank you.
ReplyDeleteYou are so sweet Joan! Thank you for your kind feedback, you made my day! :)
DeleteSimply took my breath away!
ReplyDeleteThank you Kristy! I am sooo happy you like my DIY photo magnets! :)
DeleteNice blog. There are many 14 sizes and with best options available from 2" x 3.5” to 6" x 9" so you can print small to large-sized buy Custom Magnets from PrintMagic for your special day. Choose to print your Magnet Printing in different shapes like Oval, Square, and Rectangle with square corners, All rounded corners, or two opposite rounded corners. The rounded corners can be made with a circumference of 1/4” or 1/8”, And by allowing you to customize every little detail of the Custom Magnet!
ReplyDeleteThis comment has been removed by the author.
ReplyDeleteReally nice and easy steps to prepare customized printed magnets. Thanks for Sharing.
ReplyDelete