For this project you will need thick chipboard stickers, tiny alpha stickers, frame/label thickers, wooden sticks and hot glue gun.
You can also use other bigger elements like Chasing Dreams Fringe Butterflies or Textil Hearts. In case you decide to use cardstock stickers I suggest to adhere them on a chipboard piece first, so the elements will be durable.
After I pulled together all the materials, I selected my favorite chipboard elements from Carousel, Chasing Dreams and Oasis 12x12 Chipboard sheet. I kept in my to fit the chipboard pieces to the garden theme.
To fix the chipboards to the wooden stick I used hot glue gun. Even if the glue on the back of the chipboards is strong, I didn’t want to risk that they would fall down with time.
Next, I created the herbs name plates. I found perfect frames/labels on the Chasing Dreams Thicker sheet. They have different sizes, but enough place to make the titles with alpha stickers.
Once I was done with the labels, I glue them on the wooden sticks under the chipboard elements. The plant markers were ready, so I thrust them into the soil.
I hope you like my DIY herb plant markers and will try out. These sticks would work also great for garden party decoration. You can adapt the idea for your needs.
Supplies:
(This post contains affiliate links. It means I get a small commission at no additional cost to you when products are purchased through links I share here. PP: Pink and Paper, SB: Scrapbook.com, AN: Altenew)
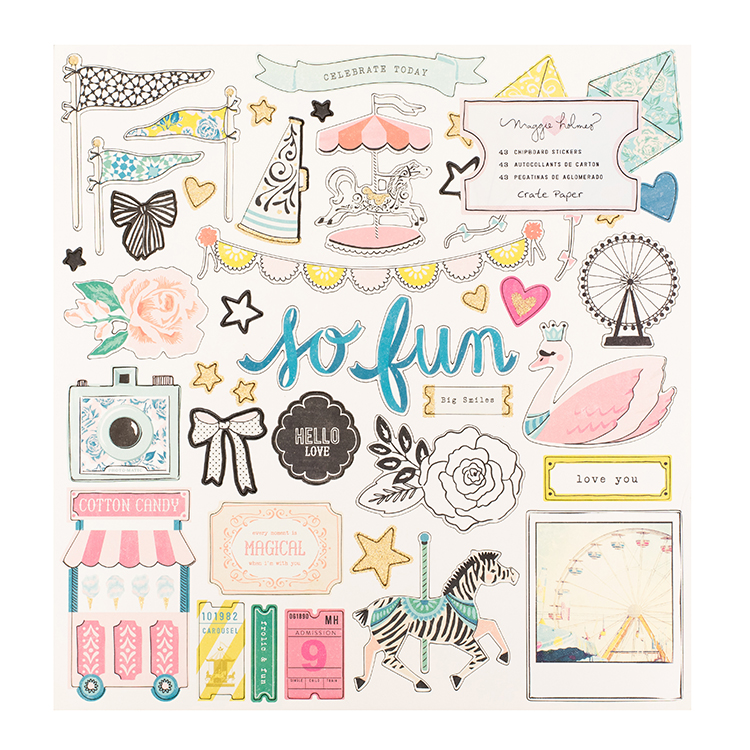 Crate Paper - Carousel Chipboard Shop at: PP | SB |
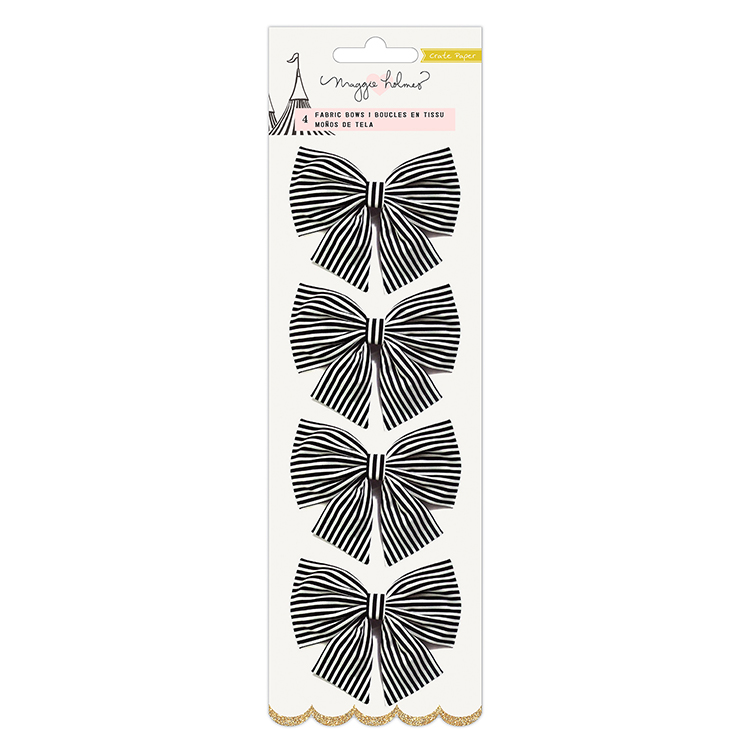 Crate Paper - Carousel Fabric Bows Shop at: PP | SB |
 American Crafts - DIY Shop 3 Scissor Shop at: PP | SB |
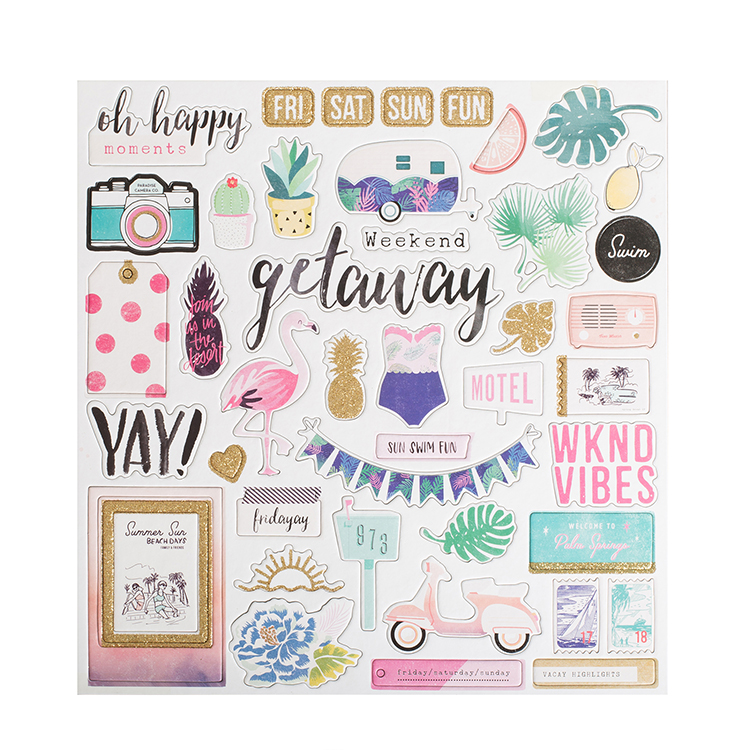 Crate Paper - Oasis - 12 x 12 Chipboard Shop at: PP | SB |
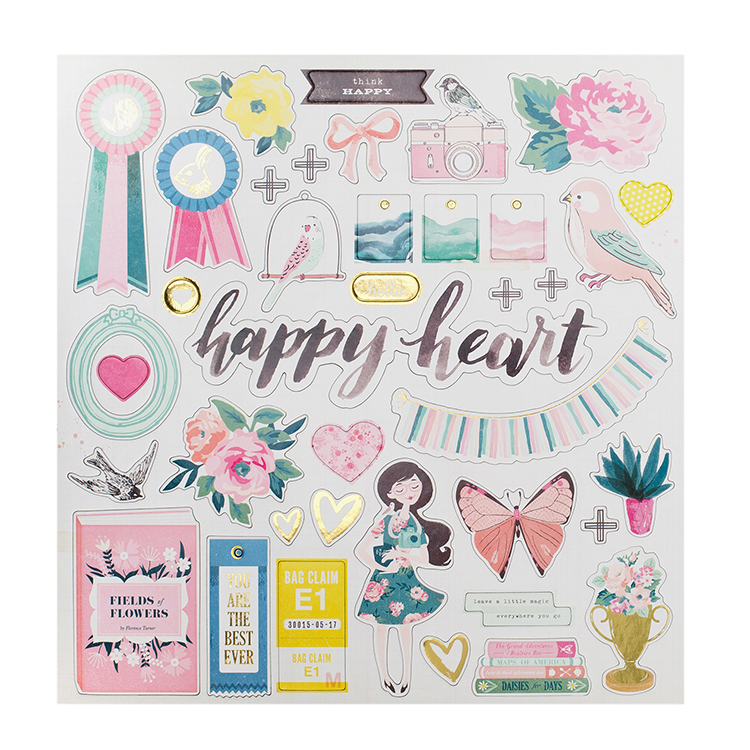 Crate Paper - Chasing Dreams 12 x 12 Chipboard Shop at: PP | SB |
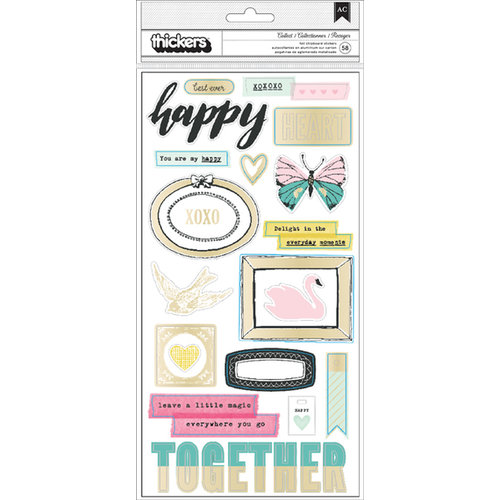 Crate Paper - Chasing Dreams Collect Thickers Shop at: PP | SB |
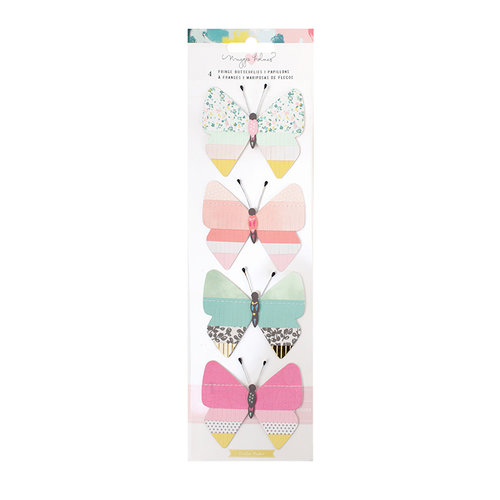 Crate Paper - Chasing Dreams Fringe Butterflies Shop at: PP | SB |
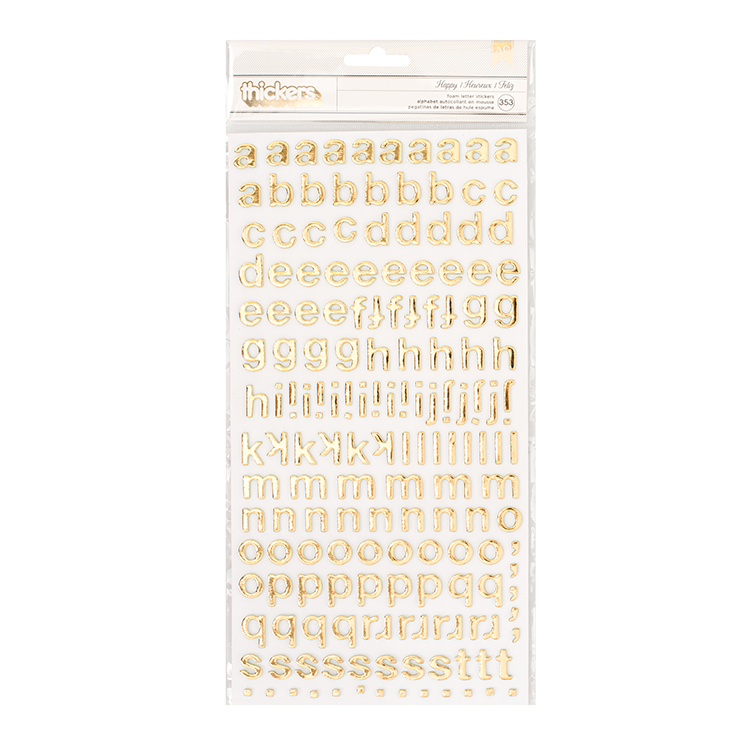 Crate Paper - Carousel Happy Thickers Shop at: PP | SB |
 Crate Paper - Carousel 12 x 12 Chipboard Shop at: PP | SB |


Post a Comment